The One-Step Lip Tint Mix That Stays Even for Hours
One very normal Tuesday turned into a public lesson in lip tint behavior. A casual walk past a storefront on a lunch break suddenly stopped short when a reflection in the glass revealed something deeply unfortunate.
The center of the lip color had disappeared completely, leaving behind a perfectly defined ring of pigment around the edges. Not soft. Not blended. A full perimeter situation. Equal parts popsicle aftermath and “did something go terribly wrong five minutes ago?”
There was a quiet pause, oat milk latte in hand, while mentally calculating how many people had already seen this before the glass decided to be honest. The answer was probably too many to feel comfortable.
That moment marked the end of letting lip tints behave however they pleased. If lip color was going to fade every afternoon, at least it deserved a strategy that didn’t involve constant checking or emergency touch-ups.
The surprising part came next. The fix didn’t require a new product, a complicated technique, or a dramatic beauty reset. It came from one tiny mix that had been overlooked for years, and once it clicked, uneven fading stopped being part of the routine entirely.
My Unpopular Opinion: Lip Tints Aren’t Easy Unless You Make Them Easy
The internet loves to pretend lip tints are effortless. Just swipe them on! Enjoy all-day color! Look naturally flushed! Be that girl! Except that girl is usually in perfect lighting and hasn’t eaten anything more substantial than air in the last three hours.
In real life, lip tints fade:
- Unevenly
- Dramatically
- Chaotically
- Strategically in the worst spots
They act like clingy friends in some areas and distant acquaintances in others. It took me an embarrassingly long time to realize the truth: Lip tints don’t fade unevenly because they’re bad. They fade unevenly because lips aren’t uniform.
Some areas are soft. Some are dry. Some haven’t seen water since yesterday. Some exfoliated themselves out of sheer willpower. So when pigment hits that landscape, it grabs whatever terrain it can.
Once I stopped blaming the tint and started blaming physics (and myself), things finally made sense.
The Fix I Wish I Had Found Years Ago
One night while getting ready for dinner, I accidentally created the trick that has now become my holy grail. I was in a rush when the Uber you claimed would take eight minutes is actually arriving in three.
Instead of applying my tint like a responsible person, I mixed it with a tiny dab of lip balm on the back of my hand. Not under, not over. Into.
Reader, I tapped it onto my lips, ran out the door, lived my evening life… and when I came home hours later, the tint had faded like a dream.
No harsh edges. No patchiness. No “why is only the outer border still alive?” It was even. Polished. Hydrated. Shockingly sophisticated for a rushed application.
I stared at myself in the bathroom mirror like, Did I just invent something? Or is this a known thing and no one told me? Whichever it was, I don’t care. It works. And it works every single time.
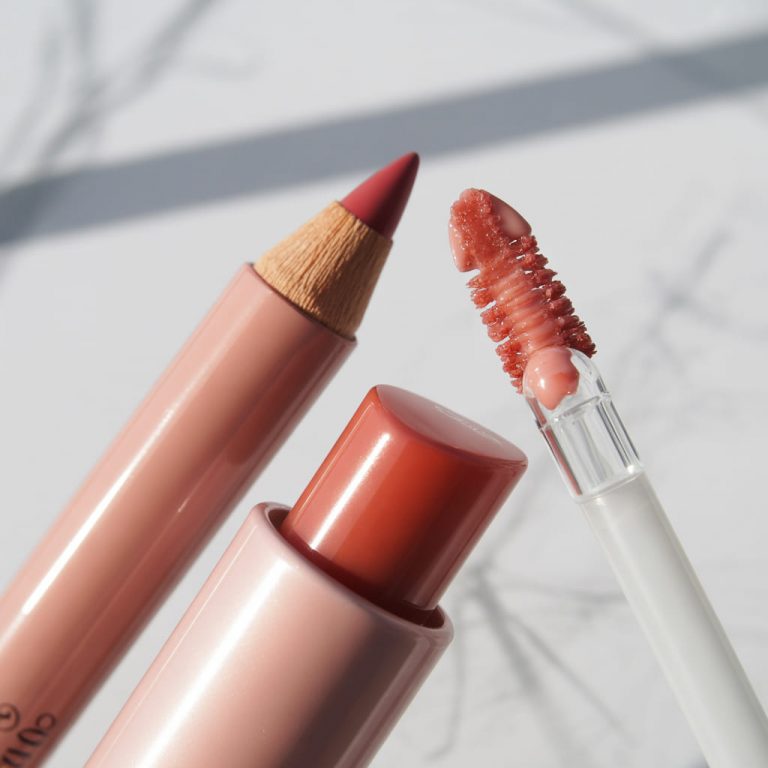
The Magic Ratio: Tint + One Drop of Balm = The Smoothest Fade of Your Life
Here is exactly what I do. No mystery, no gatekeeping, and no twelve-step routine that demands a waiting period.
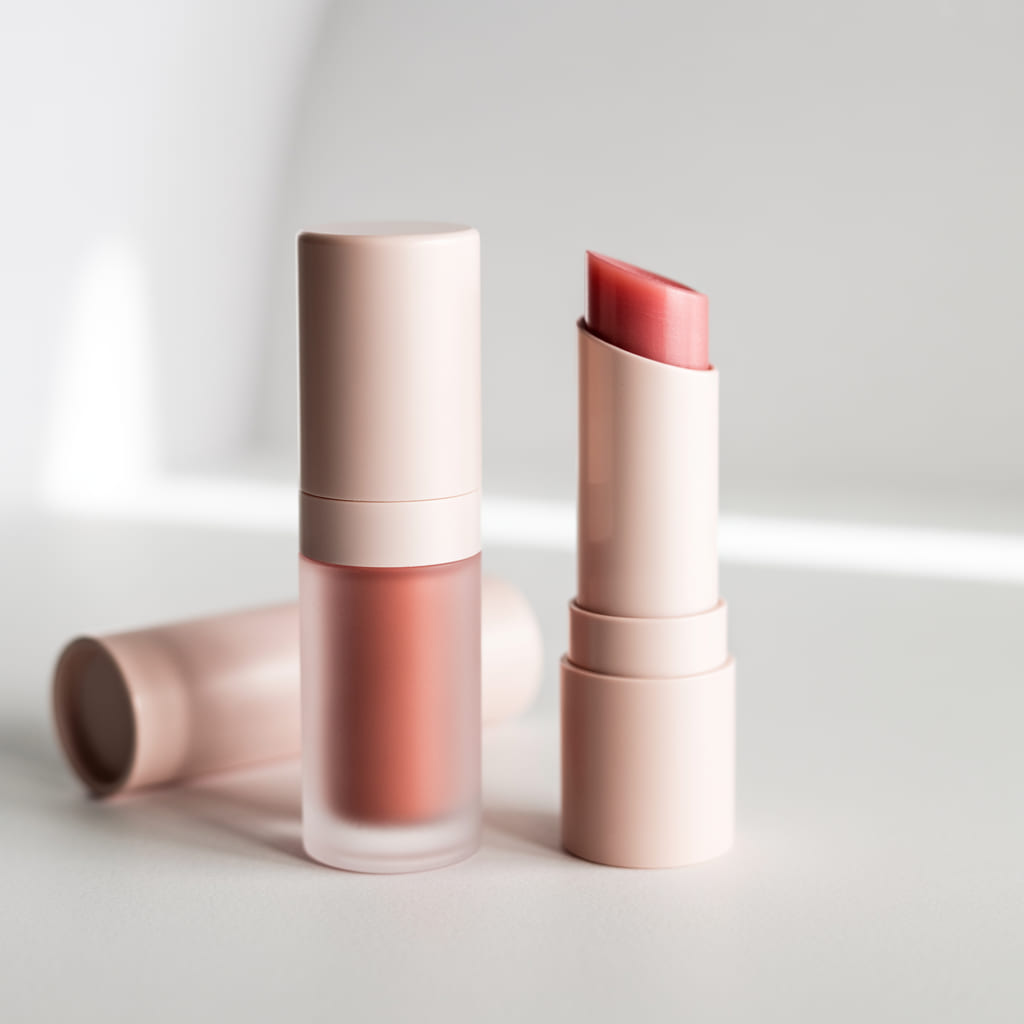
You need:
- Your favorite lip tint
- A lightweight balm (emphasis on lightweight, nothing thick or waxy)
- A fingertip or the back of your hand
And then:
- Dab a pea-sized amount of tint onto your hand.
- Add one tiny drop of balm.
- Mix until it looks like soft watercolor paint.
- Tap onto your lips in thin layers until you reach your preferred level of “I look alive today.”
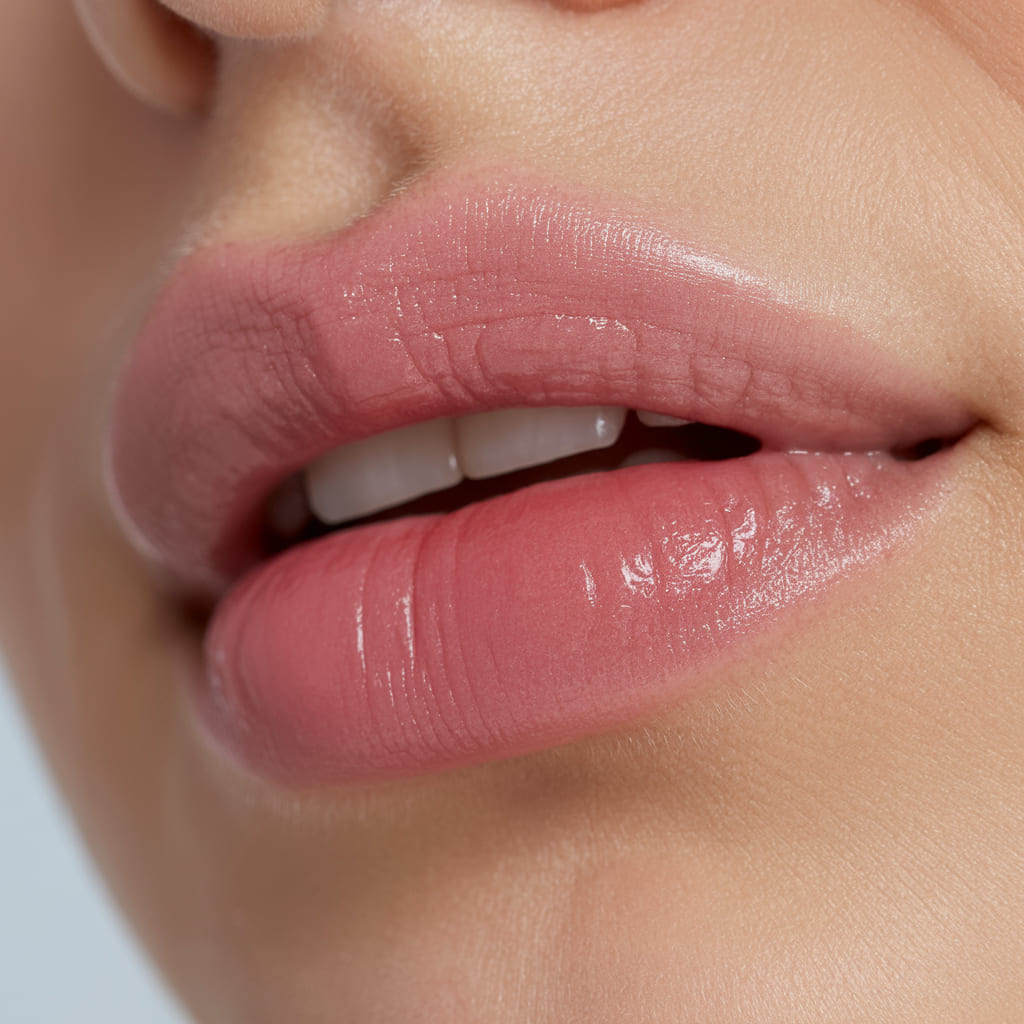
That’s it. But what it does? That’s everything. The balm evens out the texture of your lips so the tint doesn’t cling to the wrong spots. It also slows down the drying process just enough to blend beautifully, then stain softly.
Your lips end up wearing what I call the gentle-romantic fade instead of the 2023 lip-liner incident I experienced outside that café window.
Why Mixing Beats Layering (Sorry, Internet)
For years, I tried:
- Balm, then tint
- Tint, then balm
- Tint alone
- Tint with gloss
- Tint with prayer
None of them worked consistently. Here’s the science of why mixing is the crown jewel:
Balm Underneath = Slippery Tint
The tint slides. It refuses to stain. It mocks you.
Balm On Top = Lifted Pigment
It picks up the tint you just applied and redistributes it randomly like a toddler with finger paint.
Balm Mixed With Tint = Soft, Grip-Friendly Stain
The pigment becomes flexible instead of clingy. It spreads evenly instead of grabbing dry patches. It fades gradually instead of disappearing into chaos. It’s the most elegant solution for the least elegant problem.
How I Apply It for the Most Even, Pretty, Not-Embarrassing Fade
Here is the technique that makes the mix go from “nice” to “I didn’t know my lips could look this good.”
1. Tap, don’t swipe.
Tint stains better with a tapping motion. Swiping works for lipstick, but tints need patience and persuasion.
2. Build slowly.
One layer is cute. Two layers are chic. Three turns into editorial beauty energy.
But always build in layers — never dump it all on at once.
3. Focus color in the center first.
Then blend outward to create that soft, blurred, effortless look that makes it seem like your lips naturally have this tint and you simply woke up charming.
4. Commit to dryness — only at the end.
If you want a glossy look, add shine once the tint has fully set. Just be patient; gloss too early ruins everything.
A Fade You’ll Actually Look Forward To
If your lip tint has ever betrayed you in public, abandoned the center of your lips mid-sandwich, or given you the “accidental lip liner” look hours after you left the house, please try this mix.
Just one drop of balm. One dab of tint. One moment of mixing. And suddenly, you have:
- Even stain
- Soft fade
- No patchiness
- No weird borders
- No café-window betrayals
It’s the simplest trick I’ve ever added to my routine, and somehow it changed everything.